¶ Summary
The application allows for manual equalization of scanners. This is done by selecting a subset of scanners, tagging them as 'reference scanner'. This means that they yield the desired results, and other scanners should yield similar measurement results.
Then, a measurement round is performed. Test subjects perform a measurement on all scanners in the calibration set, i.e. the dedicated reference scanners as well as the to-be-optimized-scanners. If the proper calibration-config is used, the measurement results are temporarily stored. Once the last scanner in the set has been used by a user, all non-reference-scanners in the set are then updated with the goal of yielding results similar to those of the reference scanners.
The more test subjects perform a measurement on a to-be-optimized scanner, and the more reference-scanners it is tested against, the more precise the equalization-process will be.
¶ Overview
- A one-time preparation has to be made to set up the proper scanner-config
- Then, a measurement run is performed
- Two groups of scanners are needed:
- Reference scanners: Scanners that yield good results. They will not get updated, and ideally should be used for further calibrations as well
- To-be-optimized-scanners: Scanners that will be optimized throughout this procedure. They will be referenced as Target-scanners from now on.
- It is recommended to use at least 3 reference scanners for a run
- It is recommended to have a reference scanner as the last scanner in the run
- It is recommended to have 8 - 30 test subjects, with 8 being the low minimum
- Users should not perform more than 30 measurements a day
- A run setup must be performed
- Then, each test user will contribute one or multiple measurement sets
- Each user will measure themselves at all scanners that are part of the run, either with a quick- or a with a precision measurement.
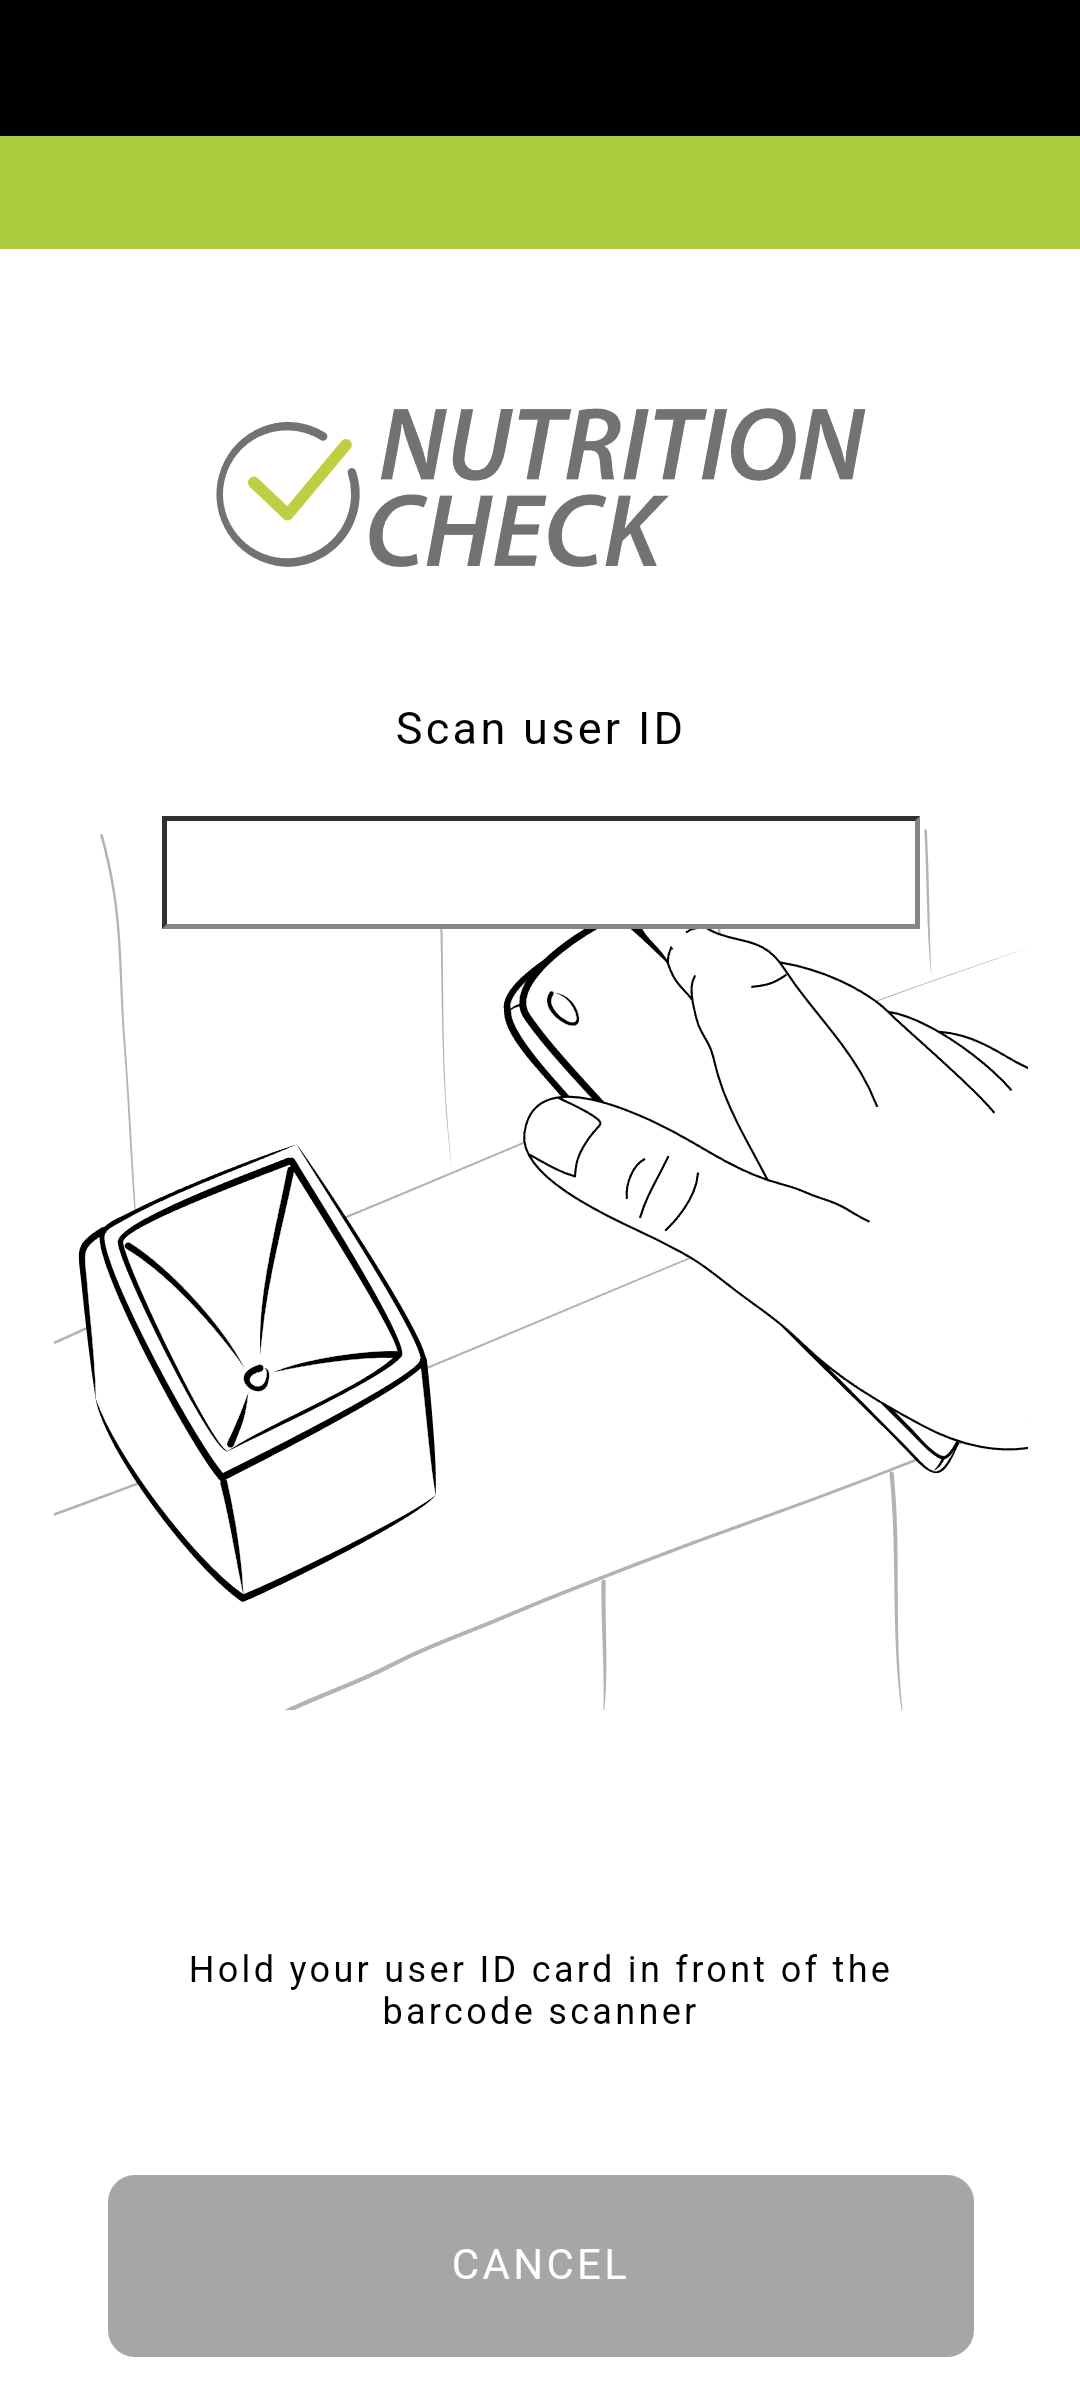
- To authenticate themselves, they will be prompted to enter their ID for each scanner. This can be done manually or via barcode/NFC card reader.
- Finally, a measurement run is finished by a special user.
- After finalizing a run, all target scanners that were part of the run will be optimized, using data generated from the current run as well as possible data from previous runs.
- Feedback for the administrator will be generated, displaying how well scanners could be fitted for individual users, as well as how well the whole run went in general.
- Two groups of scanners are needed:
¶ How To
¶ One-time preparation
- Nagivate to the 'Generate or edit configs'-section of the config editor.
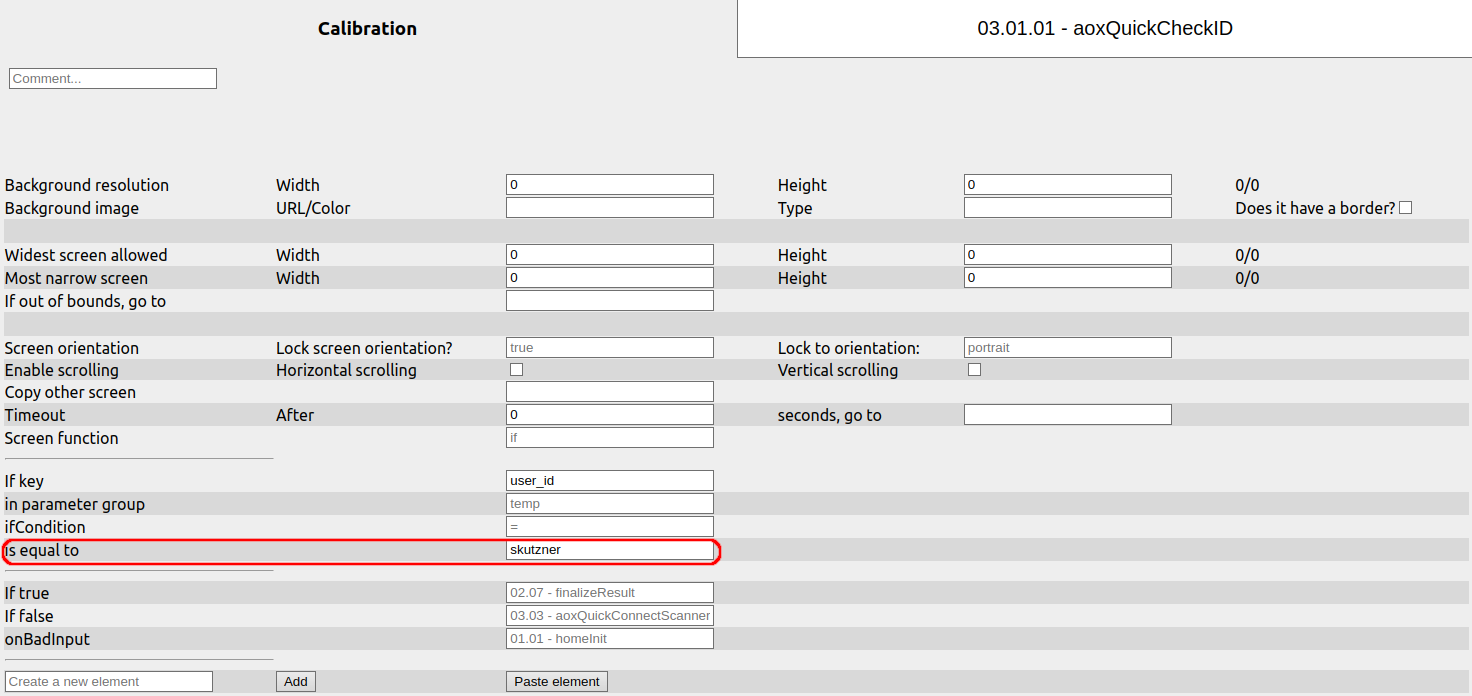
- Locate your calibration config, edit it, then navigate to the page '03.01.01 - aoxQuickCheckID'.
- If you don't have access to this design, contact the biozoom staff. - Replace the isEqualTo-Value with the user-ID that will be used to finalize the equalization process.
- To do so, scan your ID card with another tool, find the value it gives you, and enter it in the field. Make sure to include all spaces that are included in the value of your ID card (the one we tested had one at the beginning)
- Save your changes.
¶ Measurement run setup
This has to be done before every measurement run.
- Check that the userID that is used to finalize the run still matches the one you entered into the config earlier
- Pair each scanner (target- and reference scanner) that are going to be part of the run with a device
- (Optional) Attach a barcode / NFC reader to each device
- If you intent to use a barcode / NFC reader, equip each user with a code / NFC card (ideally one that can be reused by the same user later, so their IDs stay consistent over multiple runs they are part of)
- Clearly label each device/scanner, so users have a clear order of which scanner to use next
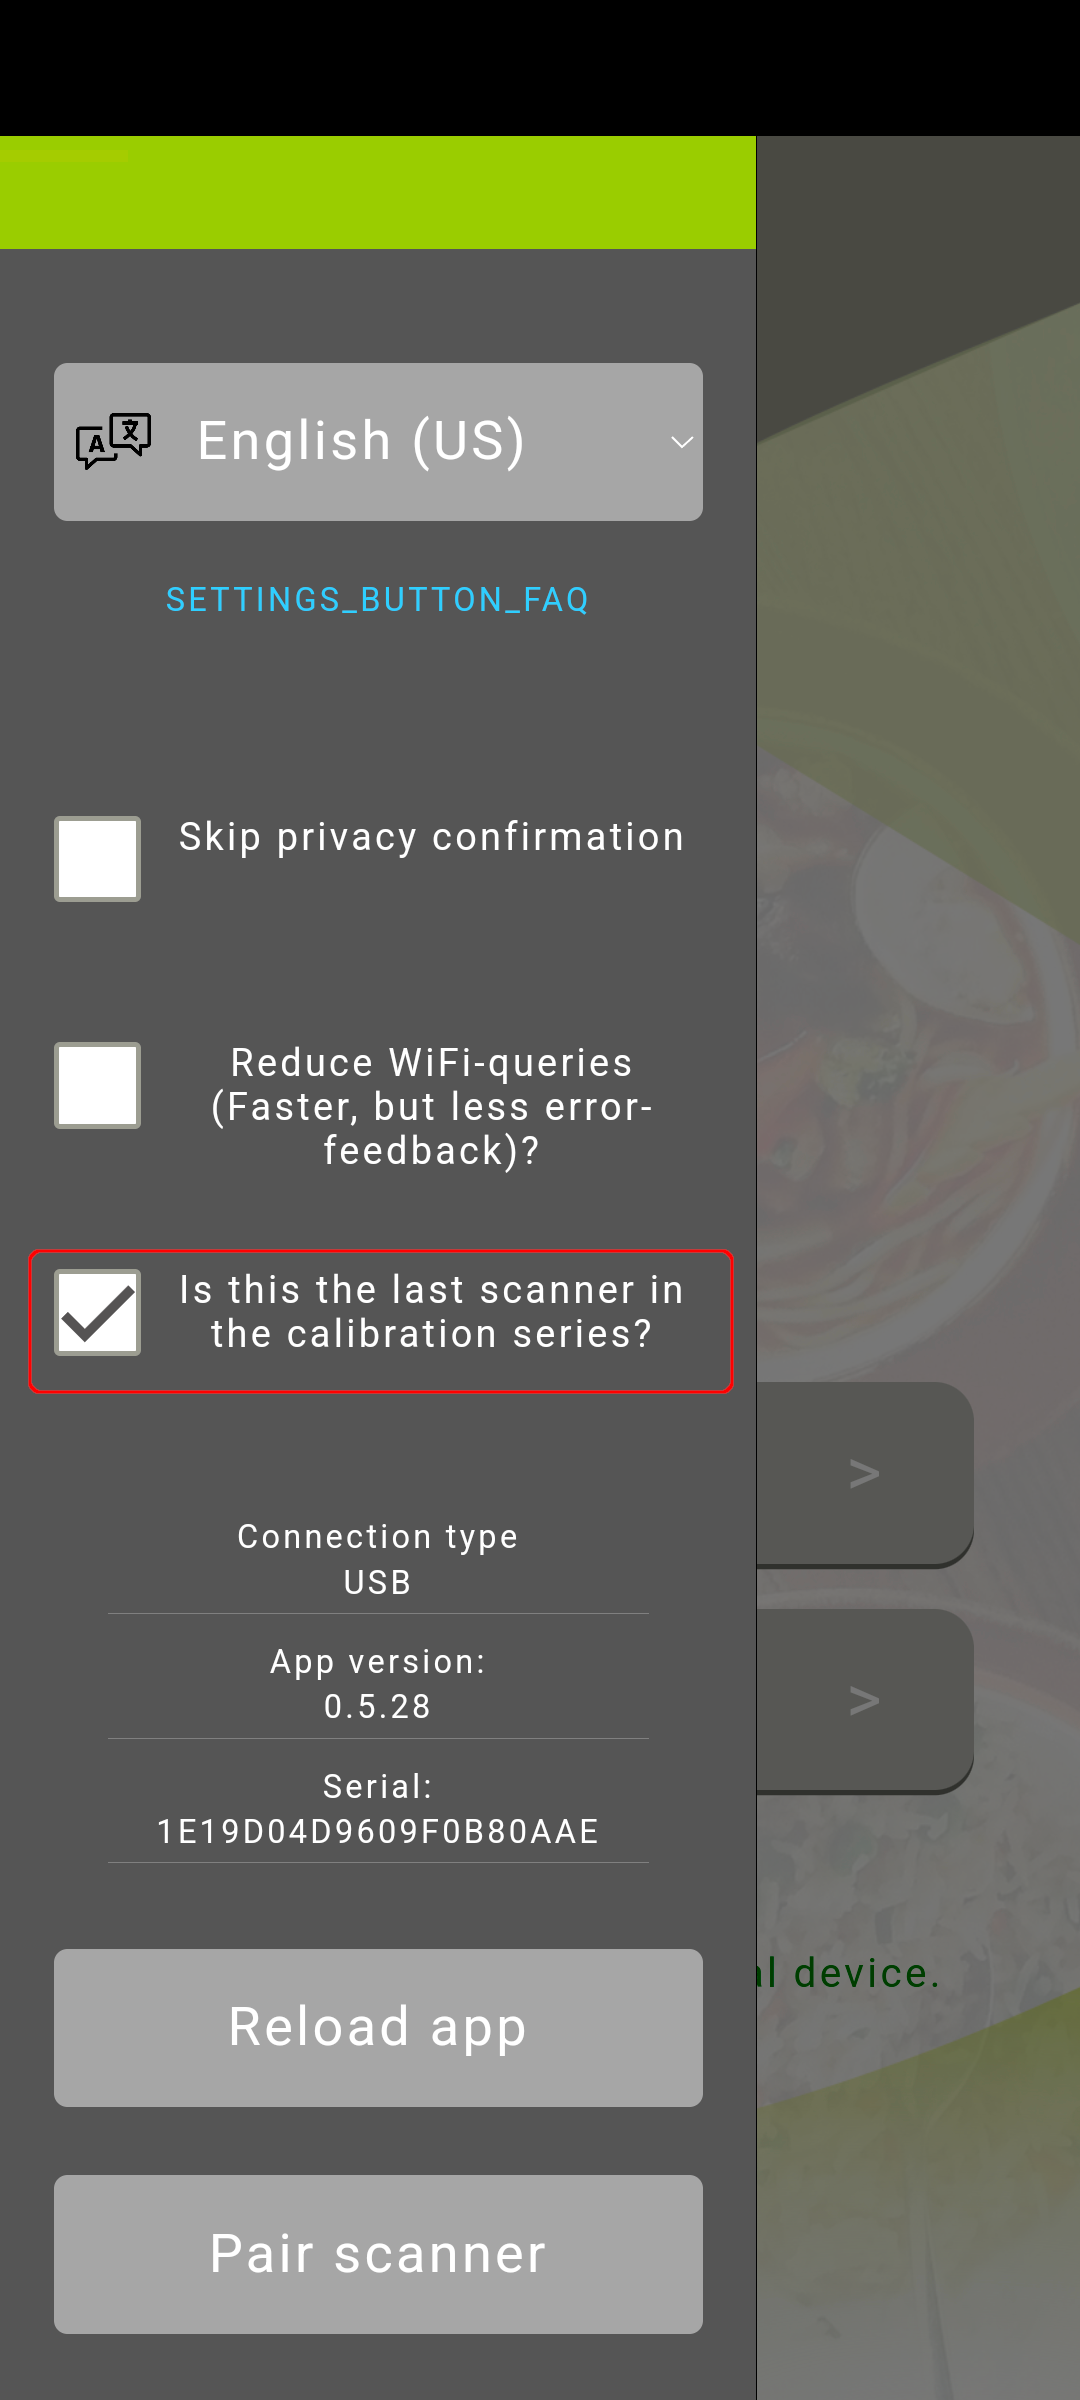
- For the final scanner only, go to the in-app-menu, and select the last checkbox (Is this the last scanner in the calibration series?)
- Navigate to the 'Select a design'-section of the config editor.
- Assign your calibration-design to all scanners that are part of the calibration set.
- Mark reference-scanners in the right-most column.

- Reference-scanners will be used to equalize all other scanners against. They themselves will not be changed. - Finally, for the target scanners, consider whether you want them to be calibrated quickly, or gradually over time.
- Calibrate quickly mean that the calculated offset for each scanner will instantly and fully be applied. This is suggested for new devices.
- Gradual updates mean that the device will slowly get adjusted over the course of weeks. This is suggested for scanners that are actively being used, as a sudden, big change of values is likely going to confuse users.
¶ Measurement set
Users can now perform measurement sets for the current measurement run. A set consists of any amount of measurements, quick or precise, and is finished as soon as the user performs any kind of measurement on the last scanner. This means that they can measure themselves at the other scanners as often as desired, though it is recommended to perform exactly one measurement at each before finalizing the set.
Users can perform any amount of measurement sets for a run. Each of them will be processed invidivually once the run is finished.
- Go to a scanner, and select which measurement you want to perform
- It is recommended to have users perform precision measurements by default. Once users are experienced / if they show consistent results, they might swap to a quick measurement to optimize throughput.
- You will be prompted to enter your ID. Do so manually or via scan. (If manually, make sure to be consistent with what you type)
- After finishing one measurement, no result will be shown. The result of all measurements of the set will be calculated once the user uses the very last scanner to measure themselves.
¶ Finalizing a run
Once all users have provided sufficient data, a run can be finalized.
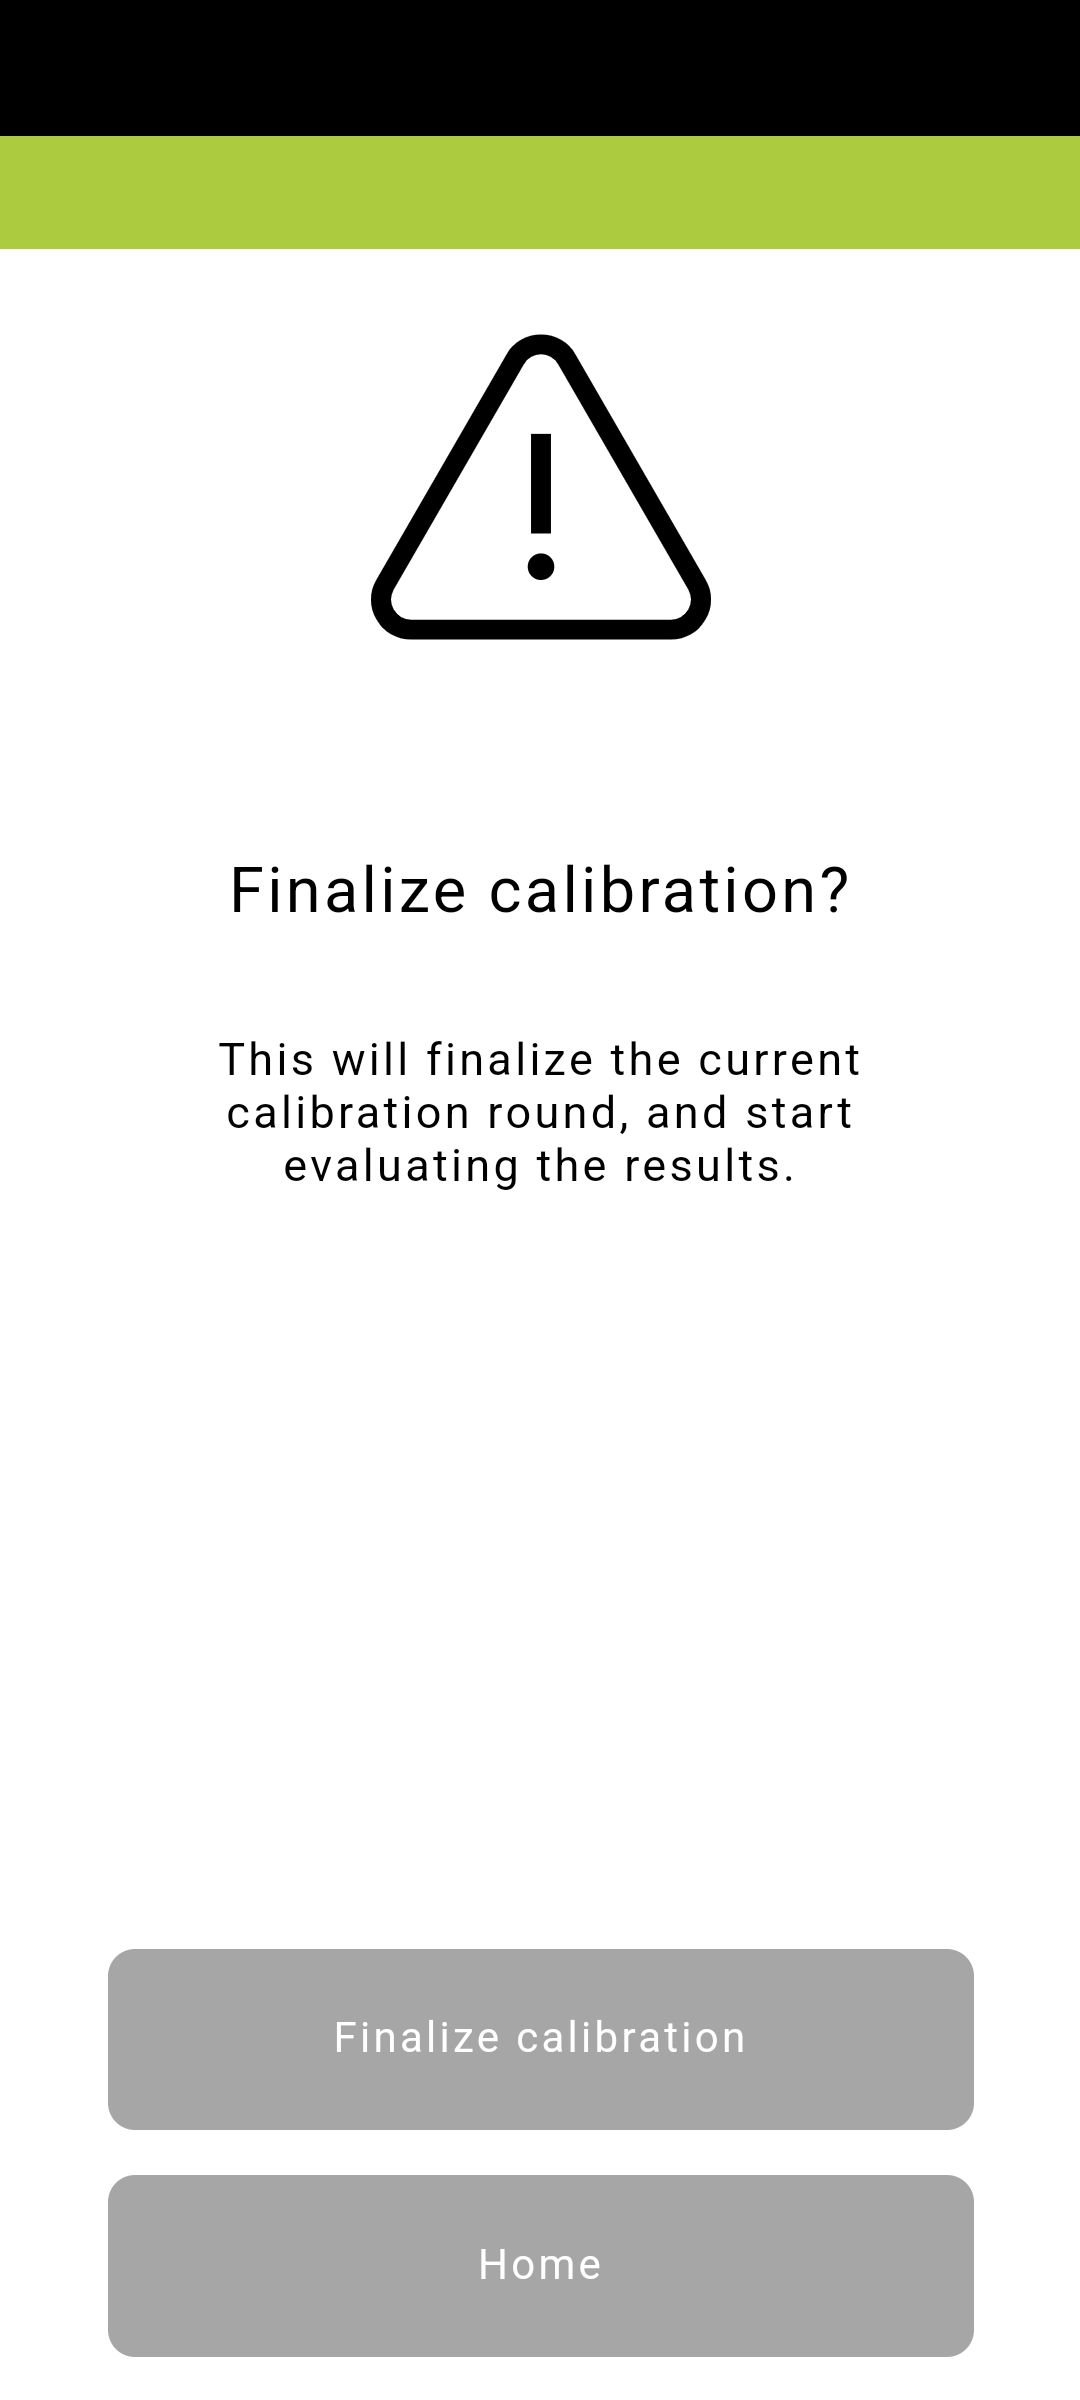
- Go to any scanner, and enter the ID you set up earlier, the one that finalizes a run.
- You will be asked whether you want to finalize the run. Confirm.
- The App will be busy for a while, while the servers calculate the result.
- The scanners will now be updated, either instantly or gradually, depending on what you selected for each scanner.
- Now, back in the config editor, under 'Select a design', you will see how well scanners are adjusted. A lower number means that it's fitted well to your reference scanners. A high number (closer to 1) indicates that the scanner is not equalized well, and repeating the process for this scanner should be considered.
- Any value that is 0.3 or higher is considered 'bad', this colored red. Anything below 0.1 is considered well calibrated.

¶ View the run's and the users' performance
Within the config console, you may review how good the quality of your team's calibration data has been, and how good your calibration runs have been in general.
- In the config console, go to 'Admin area' -> 'View calibration qualities'
- On the right side, you will see the quality of a user, separated by runs - this means users can appear multiple times in this list.
- The most important points here are the values "Mean" as well as "STD"
- "Mean" is the average result of a user AFTER their results have been corrected by the newly calculated offset- "STD" is the standard deviation of their corrected results
- On the left side, you will see something very similar. However, all the users' standard deviations that have been part of a single measurement run are grouped together, and you can review the average 'uncertainty' of a user within your run, as well as how uncertain this uncertainty is.
- To quickly gauge how well a run was: The lower the both values, the better your calibration run was. - You can also download everything you see as two CSV files - one for each column.
¶ Notes
- The calibration process can only be performed using the new VitalityCheck application.
- The updated values are displayed on the old and the new application both.
- It is currently not possible to calibrate 2E/2N scanners. Reason being: Recalibration happens by reading and updating the license from the mysql database. The new scanners utilize a mongoDB.